Categories

Thursday, September 17, 2015

Office 365 New Feature - Delve

Delve is a new offering in Office 365. Delve is like My Site – for each user, it shows a personalized view of content from any location in Office 365 including yammer, recently modified documents from OneDrive for Business, files from SharePoint sites.
Delve prioritizes and displays the content in Delve based on last modified data and last viewed date and shows the documents in the form of Card like style.
To get started with Delve, you need to turn on the functionality from SharePoint Admin Center.
Delve is based on Office Graph. To enable Delve, make sure Office Graph functionality is enabled.
To verify Office Graph is accessible:
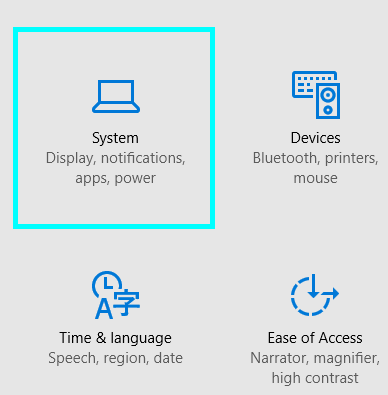
  1. Login in to Office 365 Admin Center
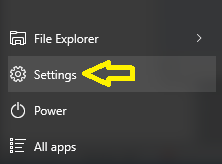
  2. Select Admin from App Launcher
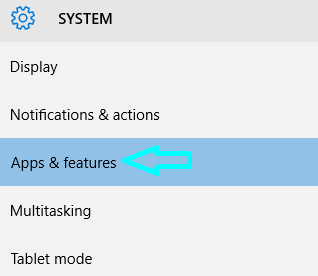
  3. From Office 365 Admin Center, select SharePoint from left navigation
  4. This will launch SharePoint Admin Center, select Settings and then select the radio button - Allow access to the Office Graph

Once Office Graph is enabled, Delve link will be available in the Office 365 app launcher.
To launch Delve, from Office 365 App Launcher, click on Delve.

This will take you to Delve page.

Delve has the following features:
  1. Search
  2. Home
  3. Me – Includes Activity and Profile
  4. People
  5. Boards

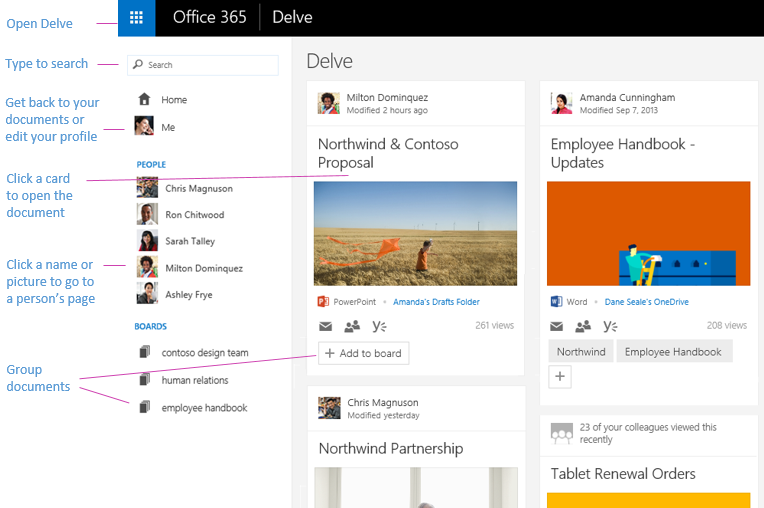
The above image is referred from this link.

How to Use Delve

Search – Use the search box to search for a person or file. When you search for a person, it will take you to their profile page.

This will give information about persons Activity, Organization structure, Blog, contact information as shown below:

Home – When you first click on Delve, it will take you to Delve Home Page. It gives a message to user “Give Delve more to work with” and a link “Learn More” which will take you to Delve help.


Me – The Me tab Shows the files recently modified by user. Me tab has the following two sections.

  1. Activity – Lists all the recently modified files
  2. Profile – The profile page gives profile information along with organizational structure

Activity


Profile


Profile contains a new section called Blog, new way to create blogs. These are not similar to SharePoint blogs. When you click on blog, you will get the following screen. Click on Start Writing to start a new blog.

It will show the following screen:

Click on New Post to create a new post. You will create post canvas.

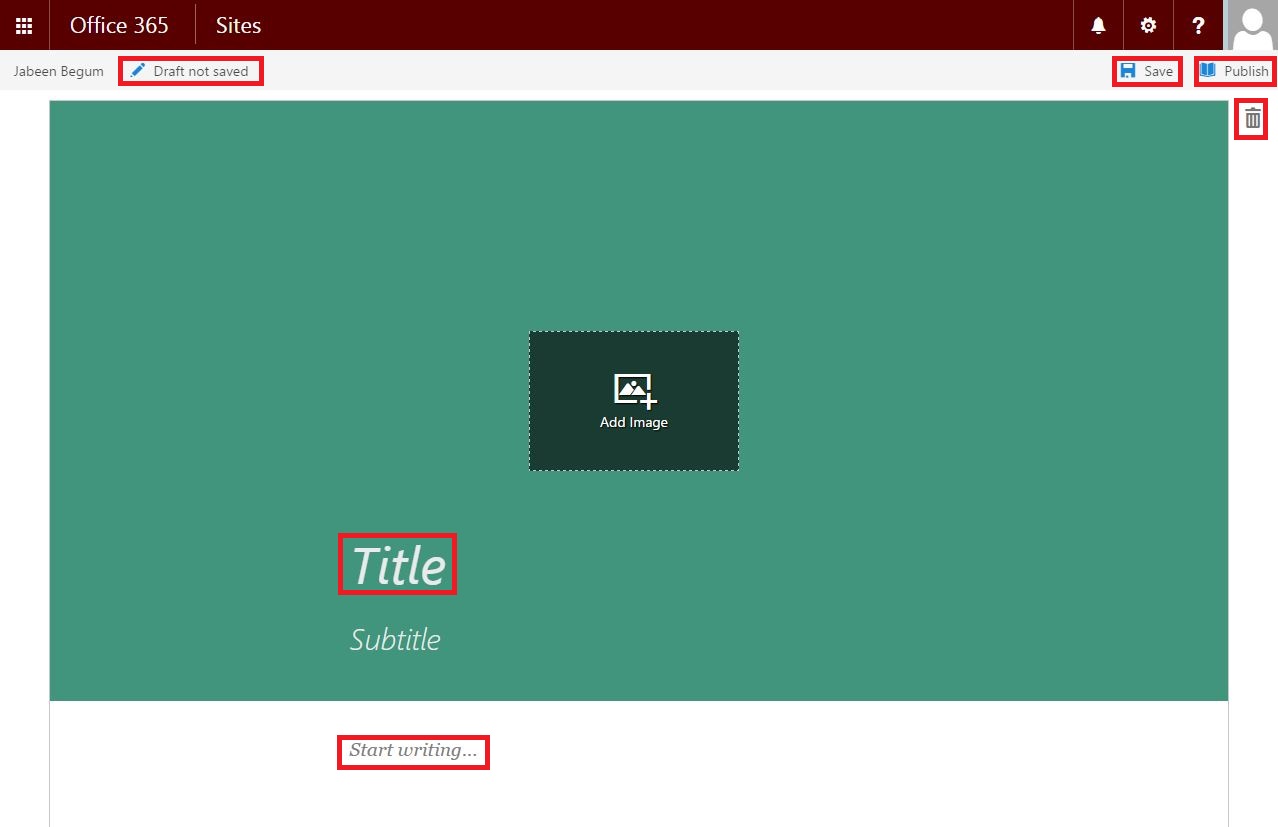
Here, you can add a background image, Title, and Body. You can attach a document or image or Video also in the blog post.

Once you are done writing content, you can publish your post. This will be available in Activity section of your Delve.

People – Displays the list of people user collaborated recently. This depends on email conversations.
Click on any person’s name in the people list, it will take you to that person's profile page and display the content related to that user.

Boards – is a way to group related documents. Boards contain cards. Cards are nothing but documents. They contain information about document in the form of card like layout.


Users can create new Boards. When a new board is created, it will be empty. You can add files to these boards by clicking on + Add to Board button displayed in the card view.
Clicking on the title of the document will open the document in browser.
Card will also display the location where the document is stored. Clicking on the link will take you to the document location.

Clicking on Email icon will allow you to share the document in email, clicking on Share icon will allow you to see information with whom this document is shared and Yammer icon to discuss about the document in yammer.
Users can follow boards and share boards with others.
Boards respect data security, meaning users will be able to see files in boards only if they have permission to view the files. Boards don’t change permissions.
Mobile App – Delve can also be accessed from Android and iPhone mobile devices via Delve app. The apps can be downloaded from the stores. Delve app for Windows phone is not available.

Source: http://www.codeproject.com/Tips/1028264/Office-New-Feature-Delve

Tuesday, September 8, 2015

How to Turn on/off Tablet Mode in Windows 10

Windows 10’s Tablet Mode provides a more touch-friendly experience by making all applications run full screen and giving you a start screen instead of a start menu. When you switch Windows 10 to Tablet Mode you witness manifold choices like whether you want to automatically go to desktop or tablet mode or allow system to remember what you have used last or pass through confirmation every time and few more.
If you want to turn on Tablet Mode follow the below steps.

Step 1
Go to the start menu and click on settings. 

   
 Setting

Step 2
Clicking on settings opens a new window with many options. Click on System.
 
 
System Category
Step 3
 On the left side bar you can see many options, click on Tablet mode.


 Tablet mode under System category
Step 4
This will open up the settings for Tablet mode in this tab. Now, you can see a slider to turn on or off the tablet mode. 


Tablet Mode
Step 5
Now, I will point out some other settings with different headings. First option is "When I Sign in", which has three options
  1. Automatically switch to tablet mode: Your system will automatically switch to the Tablet mode.
  2. Go to the desktop: This always takes you to the desktop mode whenever you sign in.
  3. Remember what I used last: Depends on your last usage.  
 
 
 Sign In Option
Select any one option as per your requirement.
Step 6
In Tablet Mode second option is when this device automatically switches tablet mode on or off, there are also three options
  1. Don’t ask me and don’t switch.
  2. Always ask me before switching: Every time you will get a pop up whenever the system senses the detachment of keyboard from the device.
  3. Don’t ask me and always switch: Whenever the keyboard is moved from the device, the tablet mode will turn on without your confirmation.  
 
 
 Switching Option
Here you can choose any one as per your requirement.
If you don't want to see apps in tablet mode, you can turn on the last option "hide app icons on the taskbar in tablet mode". 


  Display or hide the app icons on the taskbar in tablet mode

How to remove unwanted Apps from Windows 10

Windows 10 has many new and interesting features. Previous versions of Windows required the Control Panel to uninstall a desktop program. You can now use the Start menu or the settings app to uninstall unnecessary Apps. Whenever we want to remove unnecessary apps installed in our system, we move to the Control Panel but Windows 10 provides an alternative for removing apps directly from the Apps and features tab in the system section.
The following is the procedure to show how to remove unnecessary apps from Windows 10.
There are the following two ways to remove unnecessary apps:

  1. With the Start Menu
  2. With Setting App

With the Start Menu
The simplest way to remove apps is from the Start Screen. Press the Windows key on your keyboard or click the icon on the system's screen. At the Start Screen, go to the app that you want to remove and click the right button of your mouse or track pad and look at the lower-right corner, the third option will be uninstall, click on it. Some apps can't be removed (like Notepad), so you might not see the uninstall option.


Figure: Start Menu
 
With Setting App

Step 1
 
At first click on the Windows icon and the Settings option will open the Settings tab.
 

Figure: Settings

Step 2

In the Settings tab there is a System icon. Click on it.
 

Figure: System category symbol

Step 3

After clicking on the system category icon a new window of the system will be shown on the screen. On the left side bar you can see many options, click on Apps and features.
 
 
Figure: Apps and features window
 
Step 4
 
This will open the Apps and features tab. In this tab you can look for for any app. All you must do is to type its name and it will appear on the screen by choosing the first option. You can also sort various apps by their name, size and date using the second option.
 
 
Figure: Search Sort and Filter the Apps

Step 5

Now, scroll down to the bottom to see all the apps running in your system. You can directly uninstall these apps just by clicking on them and then pressing Uninstall. The apps in your system by default cannot be uninstalled.
 
 
Figure: Uninstall the apps in the system window

This is the easiest way to remove unnecessary apps from Windows 10 and boost your system's speed.